
Lighting a new build or renovation: plan before the walls close
Light is easy to change on paper and hard to change once the plaster is dry. How to draw a lighting plan room by room, from circuits and switches to lamp sockets and outdoor cables.
Most lighting regrets are wiring regrets. The pendant that hangs off centre over the table, the lamp that cannot be switched from the door, the terrace without a single outdoor socket: all of them go back to decisions made, or not made, before the walls were closed. A lighting plan is simply a drawing that records those decisions in time. It takes a few evenings of thought and saves years of trailing cables.
When to plan: before first fix
In British building language, is the stage when cables, pipes and back boxes go into the open walls and ceilings. follows after plastering, when switches, sockets and fittings are connected. Your lighting plan must be finished before first fix. After that, every change means chasing walls, cutting ceilings and making good.
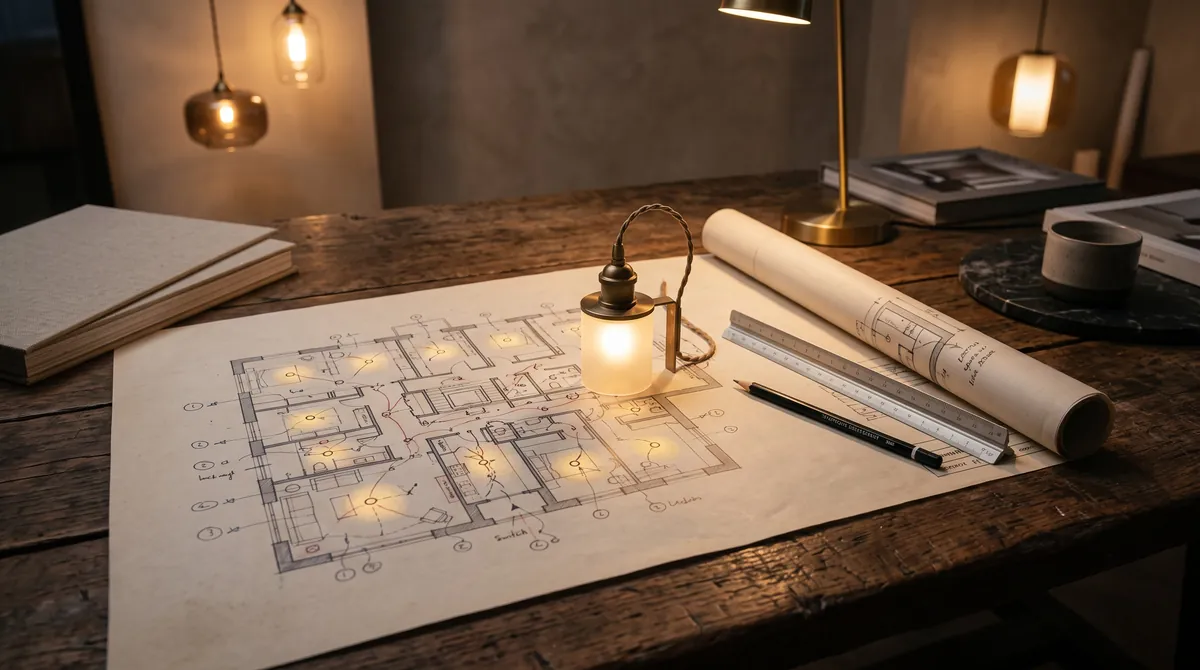
Ideally, start when the architect’s floor plans are settled but before the electrical drawings are final. Print the plans to scale and draw your ideas in pencil. You do not need technical symbols; circles, arrows and short notes are enough to brief the professionals.
Start with the furniture, not the ceiling
Light serves what happens in a room, so the first layer of your plan is the furniture. Mark the dining table, the sofa, the beds, the desk, the kitchen island and any artwork you already own. Only then decide where light is needed: over the table, beside the reading chair, on the painting, along the worktop.
- Draw the furniture layout on each floor plan, to scale.
- Mark what happens in each zone: eating, reading, cooking, working, relaxing.
- Add the light points: ceiling outlets, wall lights, recessed lights, lamp sockets and concealed lines of light.
- Group the points into circuits that you want to switch or dim together.
- Place switches at every entrance, beside the bed and at the top and bottom of stairs.
- Review the plan with your architect and a qualified electrician, then walk through the shell with the drawing before first fix.
Think in layers: soft general light, focused light for tasks, accents on walls and objects, and the decorative glow of the lamps themselves. A room with three or four light sources at different heights almost always feels better than one lit by a single bright point in the middle of the ceiling.
Circuits, switches and lamp sockets
A circuit, in this sense, is a group of lights that switch together. Separate circuits let you set a mood: the pendant over the table on one switch, the wall lights on another, the shelf lighting on a third. Plan dimming now as well, and tell the electrician which circuits will carry LED fittings so that suitable dimmers can be chosen.
Switches belong on the handle side of the door, at a comfortable height. Plan , which controls one light from two places, for stairs, long corridors and bedrooms, so you can turn off the main light from the bed. Group switches logically and note on the plan what each one does.
Do not forget the lamps. Floor and table lamps make a room feel lived in, but only if there are sockets where they stand. Plan sockets beside sofas, on both sides of the bed and behind sideboards, and a floor socket for a sofa that floats in the middle of the room. A refined option is switched lamp sockets wired to a switch at the door, so every lamp in the room comes on with one touch; in Britain these are often small round pin sockets on the lighting circuit.
| Room | Light to plan | Do not forget |
|---|---|---|
| Living room | Ceiling or wall light, lamps, accents on art and shelves | Switched lamp sockets, a floor socket for a central sofa |
| Dining area | Dimmable ceiling outlet centred on the table | Fix the table position before first fix |
| Kitchen | General light, strips under the wall cabinets, pendants over the island | Space and access for LED drivers |
| Bedroom | Soft general light, bedside wall lights or lamps | Two-way switching from the bed |
| Bathroom | Mirror light, general light, niche lights | Fittings rated for each bathroom zone |
| Hall and stairs | Wall lights, step lights, night orientation | Switches at top and bottom, sensors |
| Garden and terrace | Wall lights, path lights, uplights for trees | Ducts, outdoor sockets, separate switching |
A checklist, not a full design. Bathroom and outdoor installations always need a qualified electrician.
Ceiling outlets and concealed light
A ceiling outlet is hard to move, so place it where the furniture will really stand. Centre the dining outlet on the table, not on the room. If the table position is uncertain, ask for a second outlet or a short track that lets you shift the pendant later. For a heavy chandelier, the electrician needs to know the weight early so the ceiling can be prepared for it.
Recessed downlights and concealed lines of light have their own demands. Downlights need depth in the ceiling void and careful detailing around insulation and fire protection. LED strips in coves, shelves and stair treads need a profile, an aluminium channel with a diffuser that hides the individual dots, built into the joinery. They also need a , the small electronic unit that feeds them, placed where it can be reached for replacement. Draw these access points on the plan.
Outdoor cables and smart wiring
Plan the garden in the same breath as the house. Before paving and planting, lay empty ducts (protective pipes) under paths and terraces so cables can be pulled through later. Mark outdoor sockets for lamps, festoons or a fountain pump, and the positions of wall lights, path lights and uplights for trees. Outdoor circuits are protected by a residual current device (), which cuts the power in a fraction of a second if something goes wrong. All of this is work for a qualified electrician.
Smart lighting is easier to add than ever, but some wiring still has to happen now. Many smart switches need a neutral wire in the switch box, deeper back boxes help, and wired control systems such as KNX or DALI need their own control cable. If you are unsure, ask for a spare cable or an empty conduit to key positions. Keep ordinary wall switches in any case, so guests and future owners can turn on the light without an app.
- A neutral wire at every switch position keeps your smart options open.
- Empty conduits to the ceiling, the garden and a central cupboard make later upgrades simple.
- A central place for drivers, hubs and control units keeps technology out of sight but within reach.
Who does what
Your architect shapes the spaces and coordinates the trades. A qualified electrician designs the circuits, chooses the protective devices, installs and tests everything and certifies the work according to local regulations. Your role is to describe how you want to live: where you read, where you eat, which views matter at night. For villas, large renovations or homes with art collections, a lighting designer can join the team and turn those wishes into a detailed scheme.
Keep one master drawing and update it after every meeting. When first fix begins, walk through the shell with the electrician and that drawing, mark each point on the walls with tape, and check heights and positions in person. Ten minutes on site now replaces a great deal of dust later.
Most lighting regrets are wiring regrets.
glaminia is independent and does not sell lamps or recommend dealers. Images are AI generated illustrations, not photographs of specific products. Have fixed electrical work done by a qualified electrician.