
Garden path lighting: guide the way softly
Good path lighting is almost invisible: soft pools of light on gravel and stone, steps that announce themselves, fittings hidden among the lavender, and nothing that looks like an airport runway.
A path at night should feel like an invitation, not an instruction. The best path lighting is almost invisible: you notice the soft pools of light on gravel or stone, the lavender brushing past, the steps that announce themselves, but hardly the fittings. Get it wrong and the path becomes an airport runway, with bright dots marching in pairs and nothing else to see.
Light the ground, not the eyes
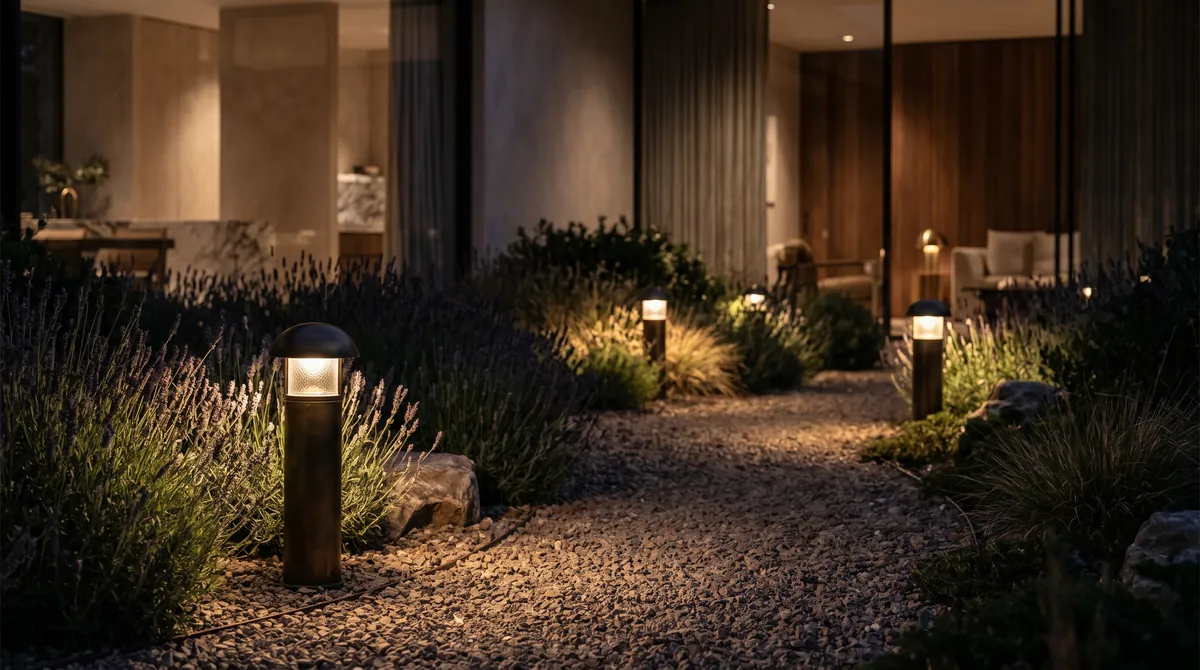
The purpose of path lighting is to show the surface you walk on: its edges, its turns and any change in level. Fittings should therefore throw their light downwards and sideways onto the ground, with the light source hidden from view. A low with a shielded head or a , a set of small slats that hides the lamp, lights the gravel around it while staying comfortable to look at.
, the dazzling effect of a bright source in your field of view, is the enemy of good path light. It makes the darkness beyond look darker and shrinks what you can see. A path lit with gentle, shielded light feels brighter and safer than one lit with exposed bulbs, even when it uses less light.
Design ideas for paths and steps
Design ideas
- 01
Low bollards on one side
Short bollards of 30 to 60 cm (12 to 24 inches) along one side of a winding path cast overlapping pools of light and let the planting on the other side stay softly dark.
- 02
Step lights in the wall
Small recessed lights set into the side wall of a flight of steps, a little above each tread, wash the steps from the side and mark every edge.
- 03
Lit stair nosings
A slim LED strip tucked under the nosing, the front edge of each tread, draws a fine line of light across the riser below and makes the flight easy to read.
- 04
Spike lights among the planting
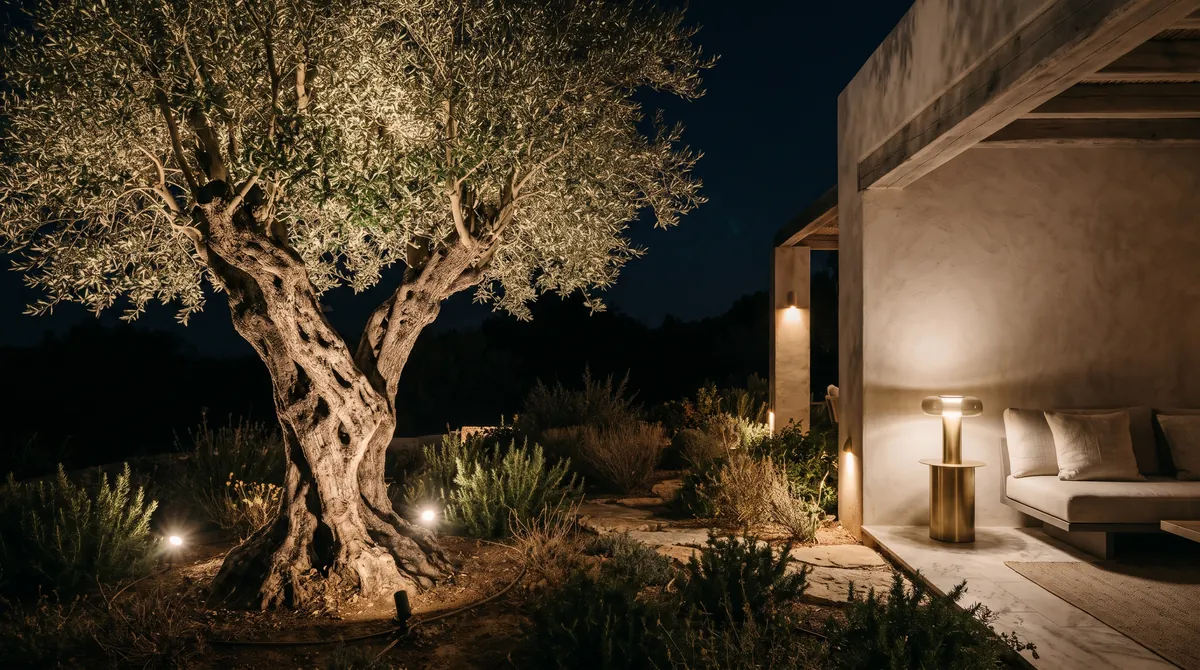
Small spotlights on ground spikes, hidden in lavender, rosemary or grasses and angled onto the path, light the way while the source stays out of sight.
- 05
Recessed lights in a stone path
Ground lights set flush into stepping stones or paving, with a frosted or asymmetric lens, mark the line without any fitting standing in the way.
- 06
A grazed boundary wall
Grazing a low wall beside the path lights the path indirectly and gives it a warm, textured edge.
- 07
A pool of light at every junction
Place a light where paths meet, turn or reach a gate, so that the important points stand out and the stretches between can stay darker.
Spacing, rhythm and height
Spacing depends on the output of the fittings and the effect you want. As a rule of thumb, low bollards and spike lights sit around 2 to 3 m (6 to 10 feet) apart, so that their pools of light just touch or leave small dark gaps. Those short gaps are welcome: they give the path rhythm and let the eye rest.
Brightness can be very low. A path light often needs well under 100 lumens, being the measure of how much light a fitting gives out, especially in a dark rural garden. Steps, junctions and the transition to the house deserve a little more light than the straight stretches.
- Bollards: 30 to 60 cm (12 to 24 inches) high on garden paths, taller ones only on drives.
- Spacing: around 2 to 3 m (6 to 10 feet), closer on bends and steps.
- Step lights: one per step or every second step, about 15 to 30 cm (6 to 12 inches) above the tread.
- Colour: warm white of 2,700 to 3,000 K, or warmer in natural gardens.
Warm light, low impact
Paths cross the parts of the garden that wildlife uses most: lawn edges, hedges and beds. Warm white light of 2,700 to 3,000 K looks natural on stone and plants and tends to disturb many insects less than cool white. The Kelvin figure describes light colour: lower numbers mean warmer, more golden light. In wild or rural gardens, an amber tone around 2,200 K is gentler still.
Keep all light pointing down, below the horizontal, so that nothing escapes into the sky. For late use, put path lights on a timer or a motion sensor. A path that lights up as you walk, and fades again behind you, is both practical and kind to the night.
Solar or wired
Solar path lights are tempting: no cables, no digging, no electricity bill. They work well as gentle markers in a sunny southern garden or where trenches are impossible. But their output is low, their light often cool, and in northern winters, just when you need them most, many fade by early evening. Lots of models also have exposed, glaring light sources.
Wired low voltage systems are more reliable and far more flexible. They need a transformer and an outdoor supply, and the mains side must be installed by a qualified electrician with protection by a residual current device. Fittings in the ground or among plants need a high , the code for protection against dust and water; recessed ground lights usually need IP67 or more. Lay the cable, or empty ducts, beside the path while it is being built, with a few spare connection points.
A path that lights up as you walk, and fades again behind you, is both practical and kind to the night.
glaminia is independent and does not sell lamps or recommend dealers. Images are AI generated illustrations, not photographs of specific products. Have fixed electrical work done by a qualified electrician.